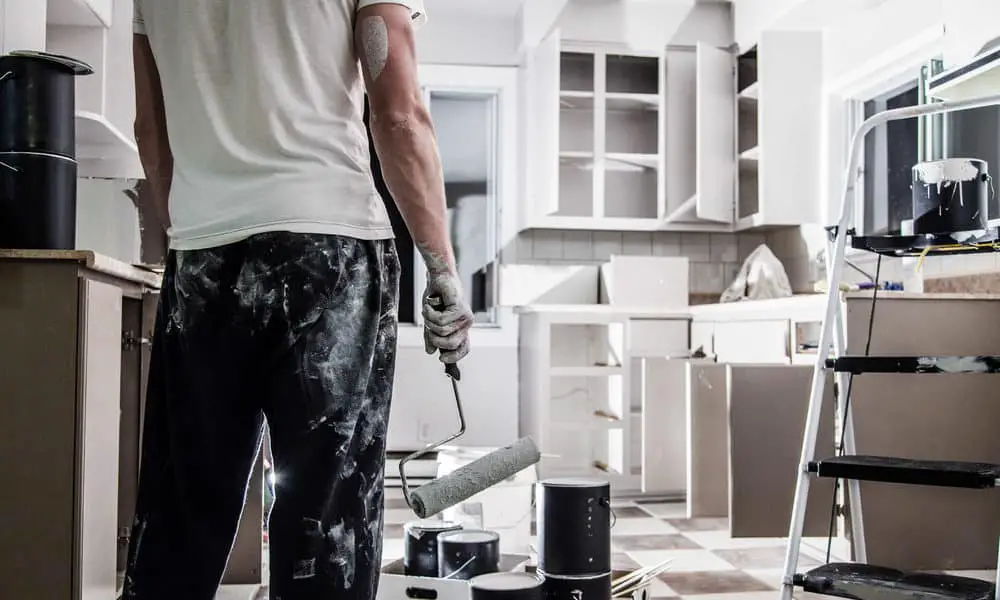
Many dreams of a total kitchen revamp but lack the motivation to do it for the fear of the cost of hiring a professional or having to deal with the resulting clutter.
Repainting your kitchen cabinets with water-based solutions like acrylic urethanes and acrylic alkyds produces a sturdy looking result with a professional finish.
The materials to be used, type of paint and color, should also be taken into consideration as they affect the overall outlook. Find below, 21 Tips on how to paint your kitchen cabinets, life hacks and DIY procedures to make your dream kitchen a reality.
1. Select an Appropriate Paint
A water-based paint which has an alkaline enamel can be used. Your regular paint used for wall surfaces and various purposes may prove unsuitable for your kitchen cabinets as they are susceptible to chipping and wear. Because there is also a high possibility that your cabinet would get in contact with water.
Additionally, they need to be cleaned when necessary with a kitchen towel, which may be wet. Self-leveling formulated paint is an excellent choice for tips on how to paint kitchen cabinets solo.
2. Select a Colour That Complements Your Kitchen Appliances
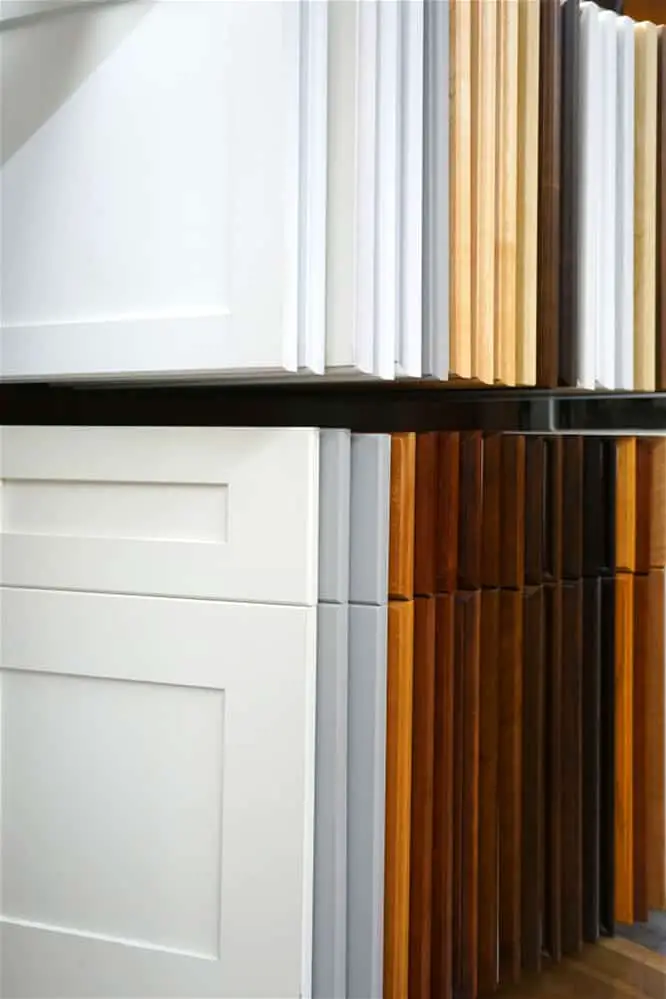
Sometimes, all your drab-looking water filters and kitchen metal scale or unglamorous kitchen sink and kitchen faucet needs is a matching cabinet colour to restore its glorious sheen.
Painting your kitchen cabinet a similar shade or an abstract, creative colour can uplift the general aura of the kitchen. When thinking about how to paint your kitchen cabinets, consider the ceilings, the walls, and all the tiny details such as the induction cooktop.
3. Clear Out All Unnecessary Hardware
A lot of things can get in your way when deliberating on how to paint your kitchen cabinets. It is the process of overhauling, dismembering and uncluttering things that saps the motivation out of most people, even though it ceases to be much of a problem when the final results are achieved.
Get the kitchen utensil set, and other similar items out of the way. Hinges, knobs, magnets should be unscrewed, unbolted and carefully kept aside. It is almost commonplace to see hinges and drawer fronts smeared with paint from the main cabinet.
It can be incredibly tempting to ignore them and surgeon with your work. However, for a more professional looking job, paying attention to those details goes a long way. In instances where it is impossible to remove them, place a masking tape over the parts you won’t be painting.
4. Arrange the Hardware in Matching Order
Have you ever been caught in this dilemma – you unscrewed bolts and nuts and began to put them back in place when suddenly, a bolt or two go missing? It could be overwhelmingly frustrating.
To say it is exasperating would be putting it mildly. When taking apart the hardware, do well to keep them well organized.
You can label the doors and keep the hardware in a Ziploc bag with matching numbers written atop them. The organization is a crucial step in the sequence of learning how to paint your kitchen cabinets.
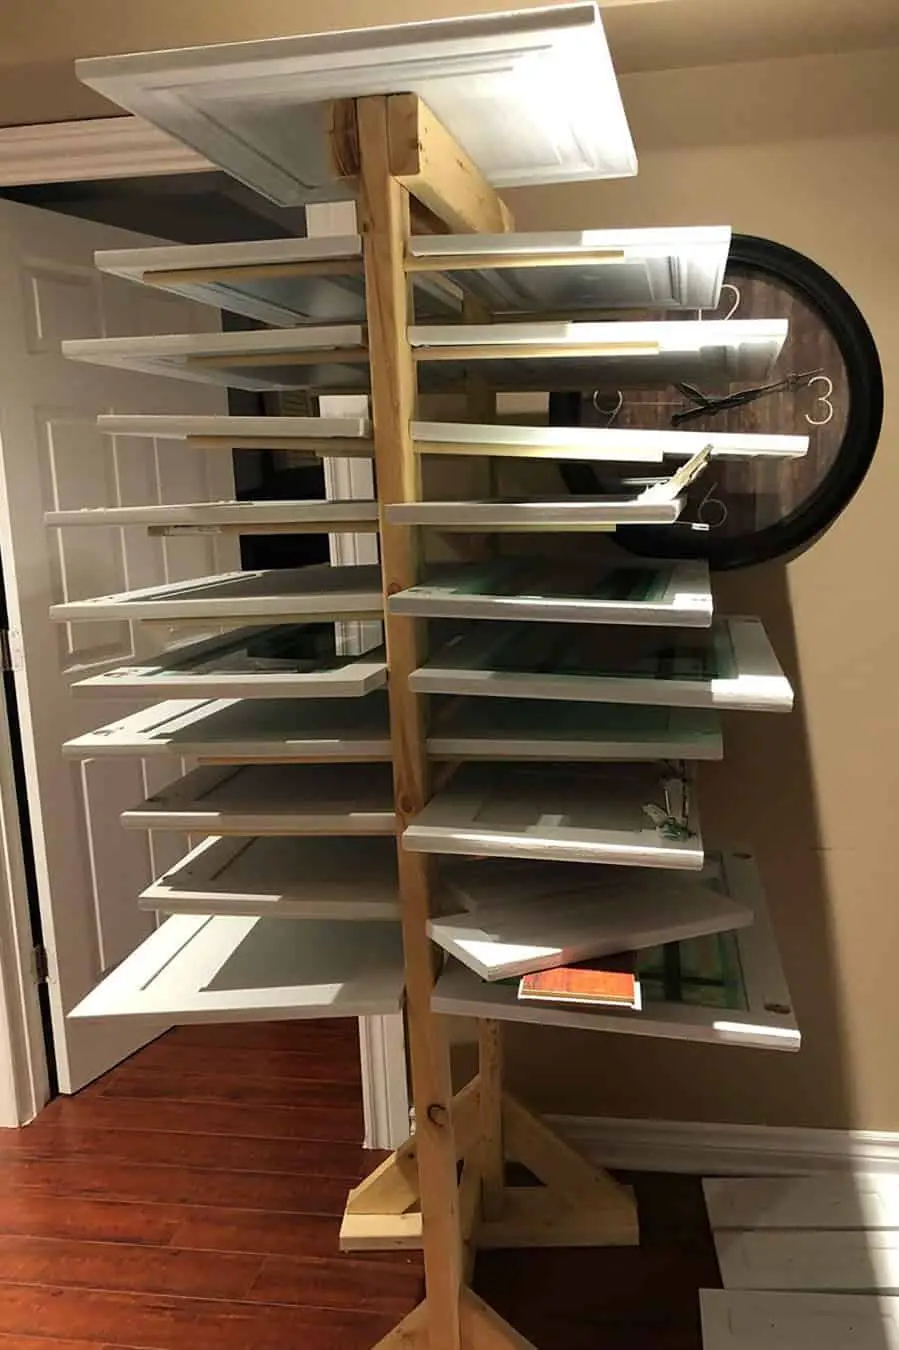
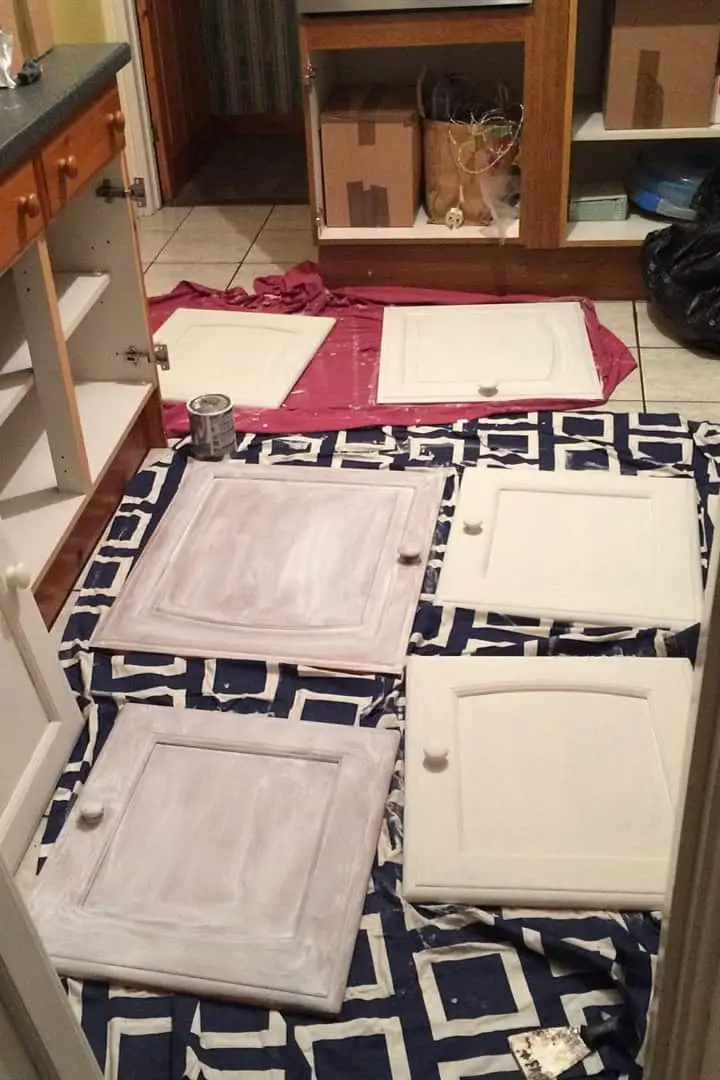
5. Organize Your Kitchen Cabinets
If you have succeeded in carefully dismantling your kitchen cabinet, the next step is to stack them up neatly for easy collection. Stack smaller appliances on the induction cooktop or other convenient surfaces like the eat-in kitchen table.
Put your silverware into containers such as a glass cup if you lack a kitchen utensil set. If there are rugs, decorative mats or curtains, roll them up and stack them in a corner of the kitchen which you would not tread. Keep the garbage disposal or kitchen trash can handy. You are going to make a mess.
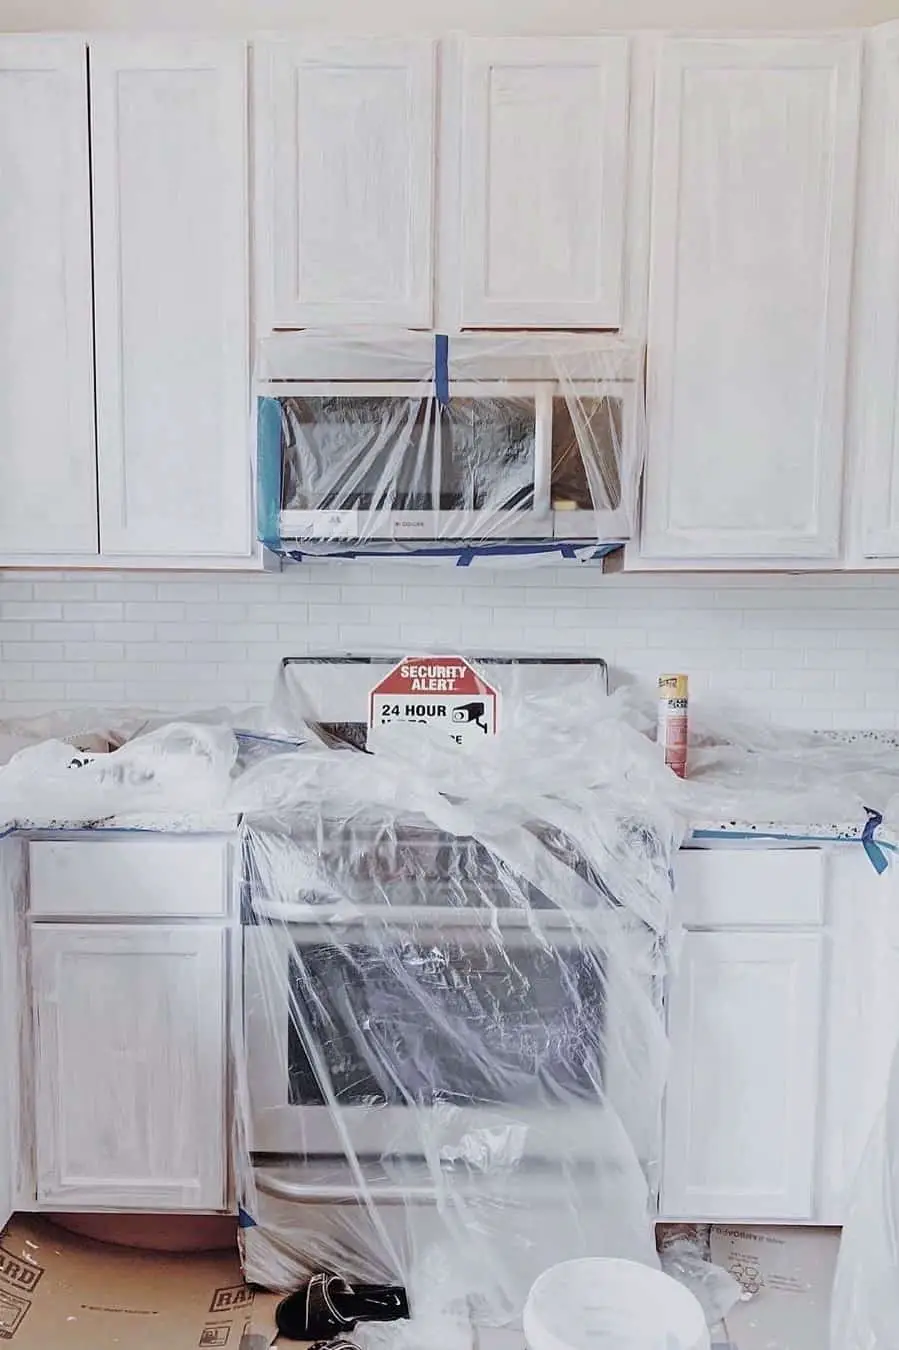
6. Cover Up The Countertops
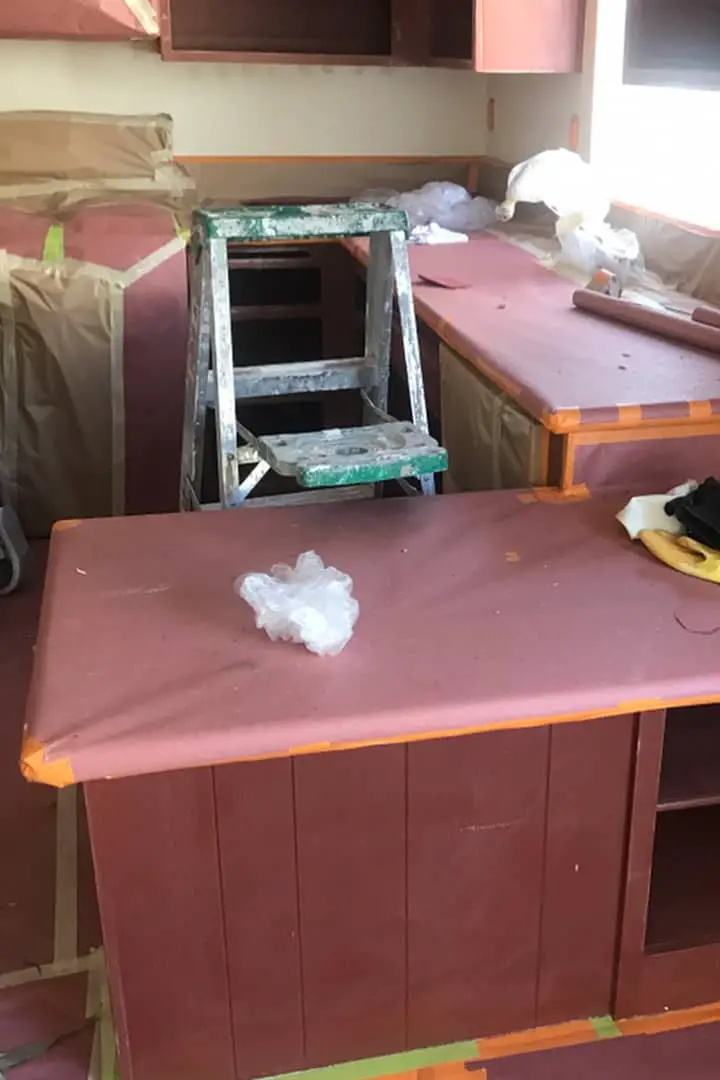
If your doors are still installed and you have resorted to using masking tape on the hardware, it would be wise to protect the countertop with Rosin paper.
The floors and backlash should not be left out either as there is a possibility of paint splashing on places you do not want it to, like the range hood. You should be careful when you start to paint your kitchen cabinets.
Brown builder’s paper is an easy substitute for Rosin paper. On the plus side, at the end of this project, you would be left with some leftover roll for future painting jobs if you do not exhaust it.
7. Revive Grease Stains from the Cabinets
After the long years of bustle and activity in the kitchen, there would definitely be grease stains on your cabinet. Grease can be a bother because the paint would not stick to it perfectly.
Even with superb paint, painting a greasy surface would be difficult to pull off. If you have greasy spots, here’s how to paint your kitchen cabinets.
With the aid of dishwashing soap and warm water, you can get it off. However, a TCP solution is recommended as it is more effective at getting grease off. Mix it according to the instructions provided, scrub the cabinet and proceed to wipe it off with water and a dry kitchen towel.
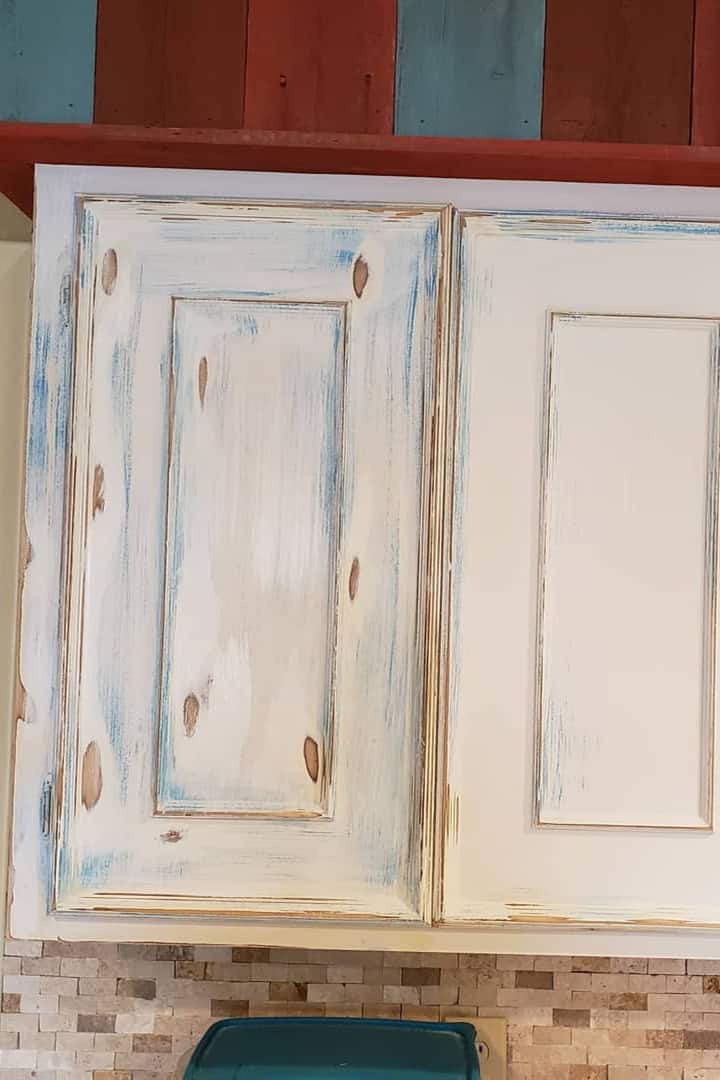
8. Sand the Cabinets

Your cabinet should get a head start with a little filing to enable the paint to get a good grip on the wood. However, you should take caution as you could easily get too enthusiastic and file to bare wood.
A sanding paper or a sanding sponge can be used on a factory finished cabinet. This makes it much easier to paint your kitchen cabinets.
However for a cabinet with an older paint that has bumps, use a 100 grit paper and an additional 120 grip paper to achieve an almost smooth, and a paint compliant surface.
If you aren’t cut out for grit paper, you could opt for renting or buying an electric handheld sander. As you would be using it over a large surface area, an electric sander helps take off the stress of sanding the wood mechanically. Save that energy for the painting.
9. Keep a Lot of Sandpaper Nearby
There is the need to reiterate this as you might need to sand again in between coats of paint while priming in addition to other processes, depending on how finely you want each later.
A couple of sheets of 180-grit papers are sufficient to get the job done for an average kitchen cabinet, making it a stress-free affair to paint your kitchen cabinets.
10. Select a Primer Liable to Dry Fast

To speed up the process, choose a primer that dries fast for the very first coat. To be more specific, an enamel underbody primer would get the job done. Before applying, ensure you read the instructions to know if the selected primer is suitable for the type of paint to be used.
Primers are also used for filling in tiny holes in cabinet materials such as oak. These orifices can show through the paint in your end result, thus it is necessary to fill them up with primer at each layer, before commencing painting.
Oil-based primers are a popular choice for painters. Need to paint your kitchen cabinets like a pro? Pay attention to these details.
11. Choose a Tinted Primer To Avoid Excess Coating
Tinting the primers a shade close to the spectrum of the actual paint could save you an extra bucket. Using a light tinted primer for light colours such as white, and a darker one corresponding with a dark colour of the paint. Shrewdness is simply one of the tips you need to paint your kitchen cabinets.
12. Keep a Tack Cloth Handy
Sanding means that there would be lots of dust and debris around the wood and its corners. Removing them thoroughly is just as important as painting itself.
Don a rubber hand glove to protect your hands as your safety is paramount when learning how to paint your kitchen cabinets. Buy the tack cloth which is usually distributed in packs at retail.
Open one up, lightly squeeze it into a bunch, swipe over the area of interest where the dust is concentrated, then loosen the cloth up in a garbage disposal that should be just by your side.
A kitchen towel would be unfit for this purpose. As soon as the tack cloth has lost its dust absorbency, discard it and make use of another.
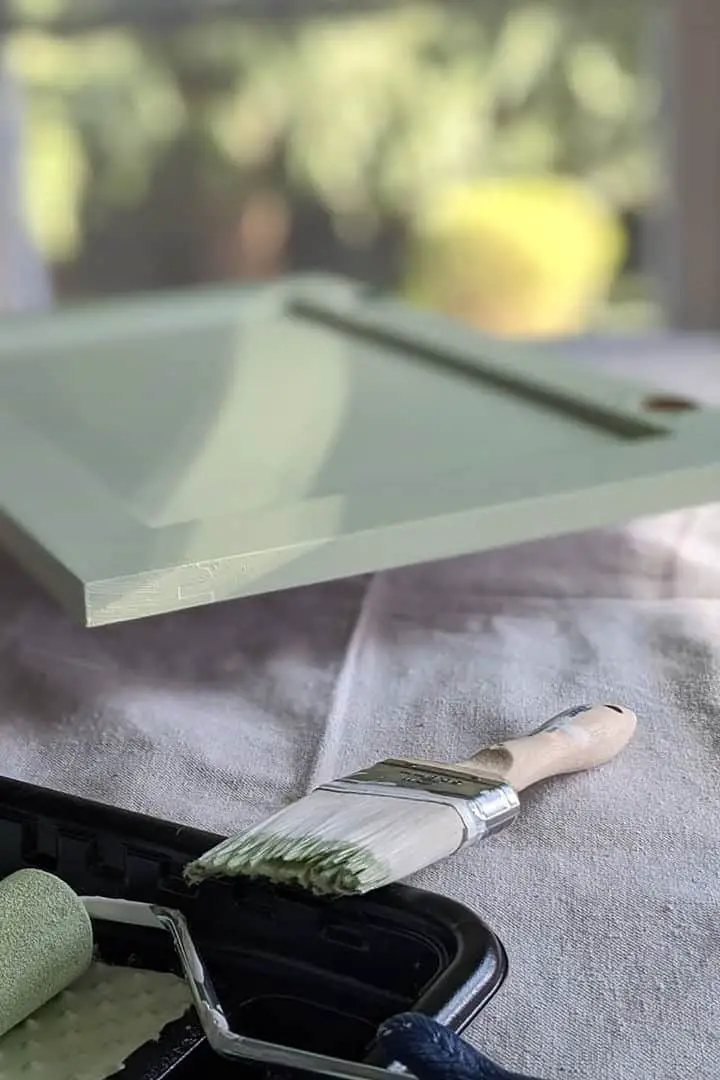
13. Purchase the Most Competent Paint Brushes

The paintbrush for the primer should be different from the one used for the paint. Foam rollers with a high density are ideal for use with an oil-based paint primer. Mirror finish rollers are the best choice for the paint finishing.
Protip: Low nap rollers always perform better when they are used and kept in a plastic or Ziploc bag overnight. When used, it gives a smooth professional finish.
Also, when purchasing the brushes, ensure that you are buying quality ones if you hope to reuse them again. These tips on how to paint your kitchen cabinets also give you little snippets on how to avoid wastage.
14. Scrutinize for Missed Areas After Priming
Some pores in wooden cabinets can look as though it were made with a kitchen knife sharpener or a kitchen shear. The primer can be used to fill in these holes, as already stated, but it is necessary to ensure an ample amount of them are filled, even though you can’t target the most microscopic ones.
After applying your primer, look carefully at the progress you have made to determine if you would continuously apply it, or can commence painting. Priming is an important part you need to explore when you want to paint your kitchen cabinet.
15. Put Light Coats of Paint
You may be tempted to use a thick layer of paint to ‘quicken’ the process. But that is a huge misstep that could backfire and leave you burnt out. Heaping up huge amounts of paint on your cabinets could lead to curling of the enamel and generally, an unsatisfactory outcome.
To paint your kitchen cabinet without such frustrations, fresh paint should be filtered to remove minuscule lumps that could create bumps and unevenness on the cabinet surface.
Additionally, excess paints would lead to trickles of paint down the cabinet which you would have to file out with sandpaper, making your work even more daunting.
Your low nap rollers aren’t built for taking up large amounts of paint. If it does, it gets matted and gives an irregular feel to your cabinet. For best results, use a very thin layer of paint. Don’t go overboard!
16. Target the Hidden Crooks
It is easy to overlook areas such as the base of the cabinet and the insides, especially those cabinets that will be placed up. The first place that opening the door would reveal are the insides of the cabinet.
Therefore, they should be bestowed with a lot of attention, in the same way, the front and bases should be. This would teach you how to paint your kitchen cabinets thoroughly.
Painting the insides before painting the front ensures that there wouldn’t be scratches when you eventually flip it over. Sand and file all the areas for starters.
Afterwards, prime the back and insides while you wait for it to dry. Giving the primer a sufficient amount of time to dry creates sturdy, long-lasting cabinet paint.
Spray painting the cabinets is also a wonderful alternative for creating a professional touch with maximum adhesion. It also requires paying attention so that a selected area doesn’t get more paint than the others, leading to discordant hues.
17. Make Use of a Polyurethane Topcoat
This extra coat serves as a barrier and protective layer for the paint. It preserves it and insulates it from quick wear and tear, thus, it remains a good investment.
Use a foam roller with a good density and, or enamel type low nap rollers to spread the paint across the surface of the kitchen cabinet thoroughly. When considering how to paint your kitchen cabinets, you should also make plans on how to extend its shelf.
18. Use Contact Paper as an Alternative
If you cannot afford to paint the insides of your cabinet or the thought of the additional work overwhelms you, contact papers can be used as a reasonable substitute for the insides.
They are usually more expensive as the surface area it covers may not be sufficient for your cabinets, but they do last longer than paint as they can be cleaned and are also easily replaceable.
As a bonus, if you are very particular about colour grading when you want to paint your kitchen cabinets, you need not worry if the insides would match the top of your range hood.
19. Wipe Down All the Hardware Parts
These tips on how to paint your kitchen cabinets present a good opportunity to remind you to clean those hidden hardware parts that easily accumulate grime and dust in kitchen nooks and crannies. To clean them, mix a potent solution and water for the metal parts.
Soak the bolts and hinges in it, then wipe it down with a wet kitchen towel. This removes all the grime and dirt. Afterward, leave it to dry sufficiently. If it doesn’t dry to a satisfactory level, it poses the risk of developing mold which is antithetical to the whole point of cleaning it.
20. Piece the Hardware Together Before the Cabinet Parts
After painting the doors and parts from your kitchen cabinets, piece the hinges and bolts back together first, before proceeding to install the painted doors.
Those bags that you had labeled and kept in the kitchen sink or on the kitchen table, carefully put them where they belong before putting the whole installation together.
This will make sure that nothing is out of place when the entire painting process is done.
21. Get Help When Installing the Kitchen Cabinets Above Kitchen Sink Level
The cabinets installed on the floor are easier to put together alone. But with other complicated ones such as a floor to ceiling cabinet.
Getting an extra hand to help you heave those heavy parts up on a support would drastically reduce the time you spend and ensure you expend less energy while getting the job done.
It also prevents the many domestic accidents that accompany such a task. You could trip and fall on the kitchen sink or fall dangerously while holding on to a cabinet door. It is a DIY job but do not hesitate to ask for help when necessary.
Conclusion
The colour of your kitchen cabinets determines how much zest and life is added to your kitchen. Old appliances and supposedly unremarkable ceilings can be resurrected with only a slight touch to your cabinets.
Painting the kitchen cabinets and getting the job done can leave you with a sense of fulfillment. Following the tips given above not only makes the job easier but inculcates a professional-looking tinge to it.
Every kitchen needs a makeover once in a while, and these tips on how to paint your kitchen cabinets set you on the right path to achieving just that!