Wondering how to clean water softener yourself?
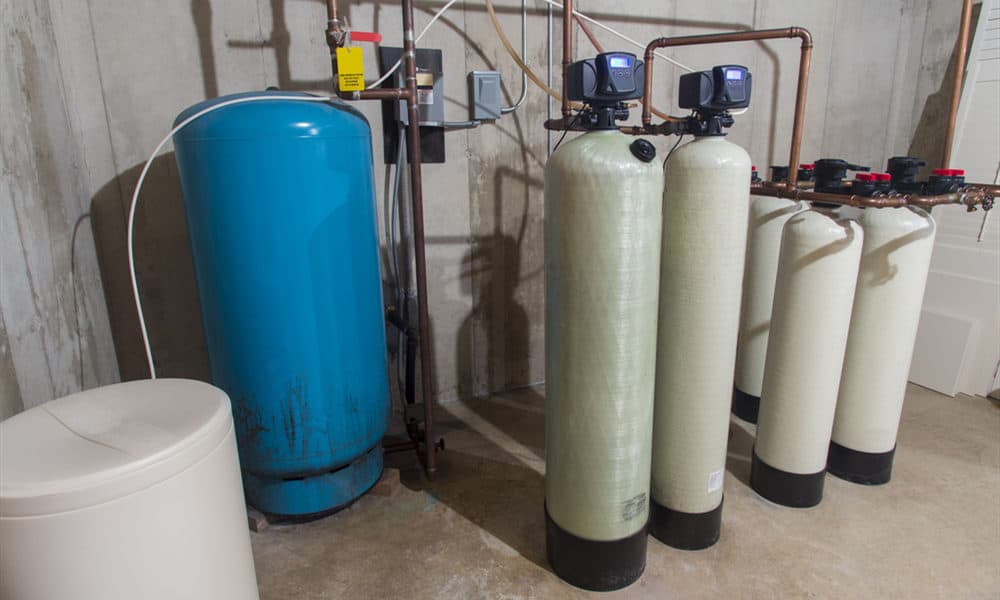
A water softener is such a vital home appliance that helps remove calcium, minerals from hard water, and keeps your water pipes safe. So, once the water reaches your washroom or kitchen taps, it 100% pure.
In this blog, we are sharing the top 10 tips to help you clean the water softener, so you continue getting safe and pure water in your home.
How to Clean Water Softener
Doing a routine cleaning and maintenance of the water softener is important to make sure it operates correctly. If you are having too much hard water issues or high mineral buildup in the water, schedule regular cleaning sessions for the water softener.
If its connected to a whole house water filter, you could schedule the water filter’s maintenance too. Though it may seem challenging, it’s quite simple to clean the water softener yourself.
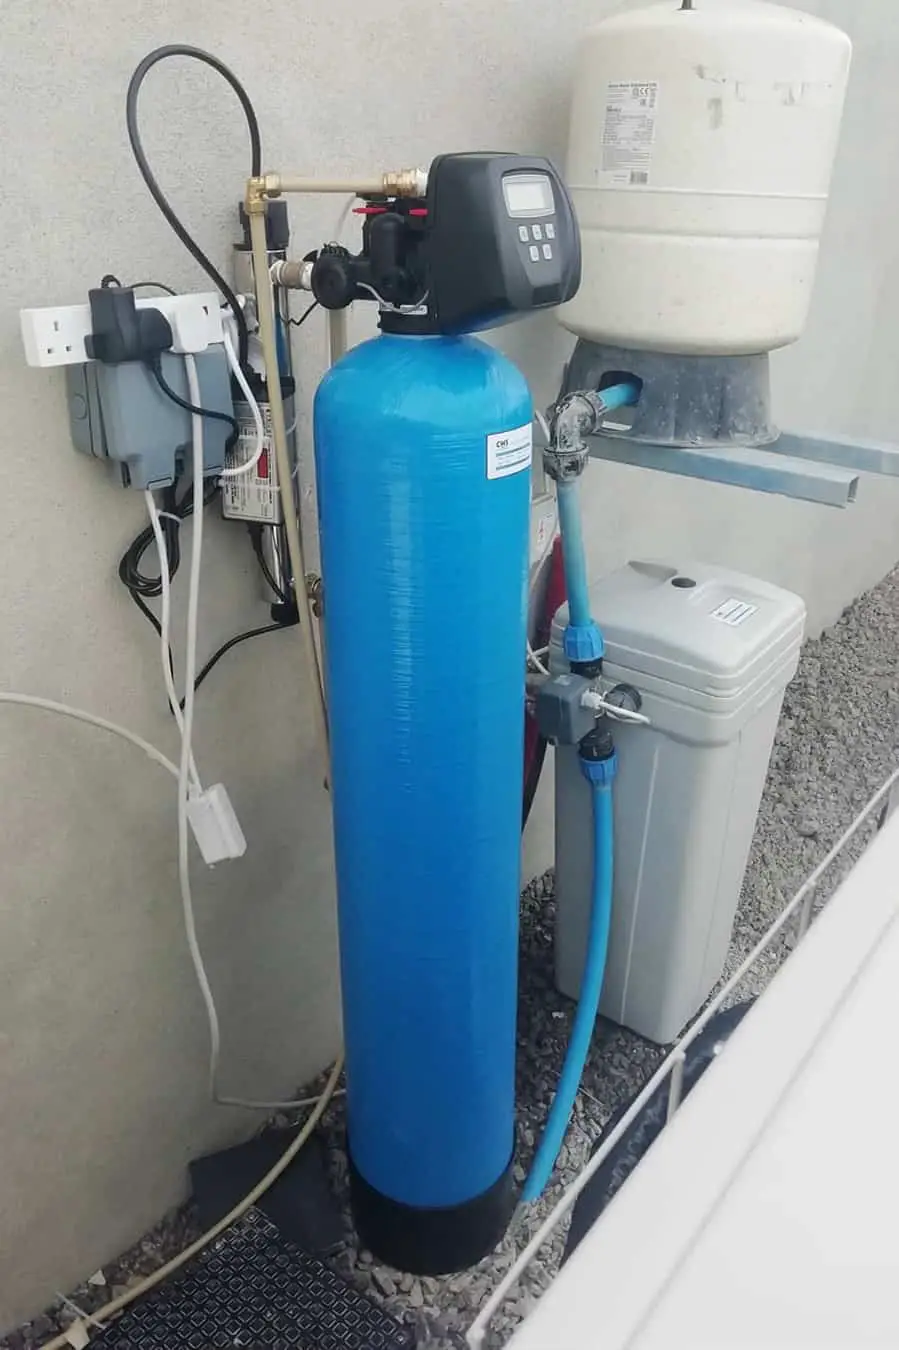
A water softener unit has a brine tank that may develop resin buildup with frequent use. Cleaning this resin buildup is vital as it attracts magnesium, calcium, and other minerals over time and becomes ineffective.
Want to DIY the water softener cleaning? Here’s the only tool you will need – a good old screwdriver!
1. Detach all Pipes
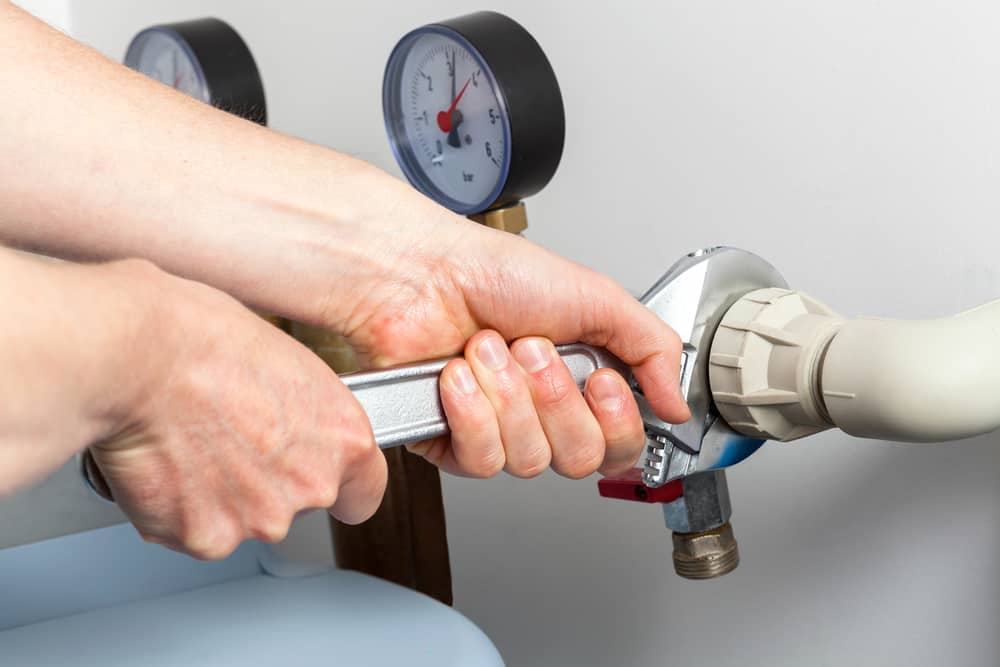
Before you go ahead, disconnect all the pipes connecting to the water softening unit. Once that’s done, throw away all the water that’s present in the resin tank. You can simply drain it all out, but make sure not to drain it on your plants or the lawn.
2. Get Rid of the Old Salt
Check if there’s any leftover salt present in the tank as you will need to throw it away. If there are big chunks of salt, you can pour some hot water into the tank and scoop it out. Make sure that all the salt is thrown away.
3. Pick a Trusted Resin Cleaner
For cleaning your water softener, always go by the manufacturer’s recommended brand of a resin cleaner. Choosing a commercial resin cleaner is your best bet and use an appropriate amount.
Once you do that, it automatically replaces all the mineral ions with sodium as it’s designed to remove mineral residue.
You can choose a commercial cleaner that cleans out a particular element, such as iron. If you feel that your water softener has too much iron buildup, choose a commercial cleaner. In case your softener unit has other mineral residues, make sure to use another cleaner that helps remove it.
4. Add the Cleaner
Now, add the cleaner into the water softener brine tank. If your softener unit doesn’t have a brine tank, add the cleaner into the salt tank. Make sure to add the cleaner when the salt is low.
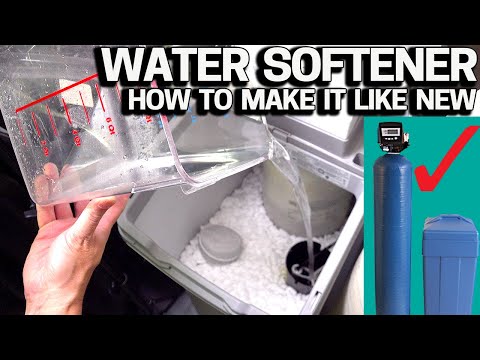
Here’s a helpful video about cleaning a water softener easily:
5. Optional Bleach Cleaning
For a deep clean, you can add bleach to the water softener unit. Here’s how you can do it. You need to mix ¼ cup of household bleaching element such as vinegar into approximately 5 liters of clean water in a tub. Stir it well and leave for 15 minutes.
Now pour this mixture into the water softener and scrub nicely with a long-handled brush. Let it stay around 10 minutes before you dump the bleach water.
After draining the unit, rinse it thoroughly with enough clean water. Feel free to use this bleach solution for cleaning the resin bed and the brine tank.
Bleach is great at sanitizing the entire unit and neutralizing bacteria that exist in the water. Just remember to keep the bleach solution at 50-100 parts per million (or mg/liter).
Any stronger bleach solution will weaken the water softener’s resin and reduce its efficacy to remove water hardness and minerals.
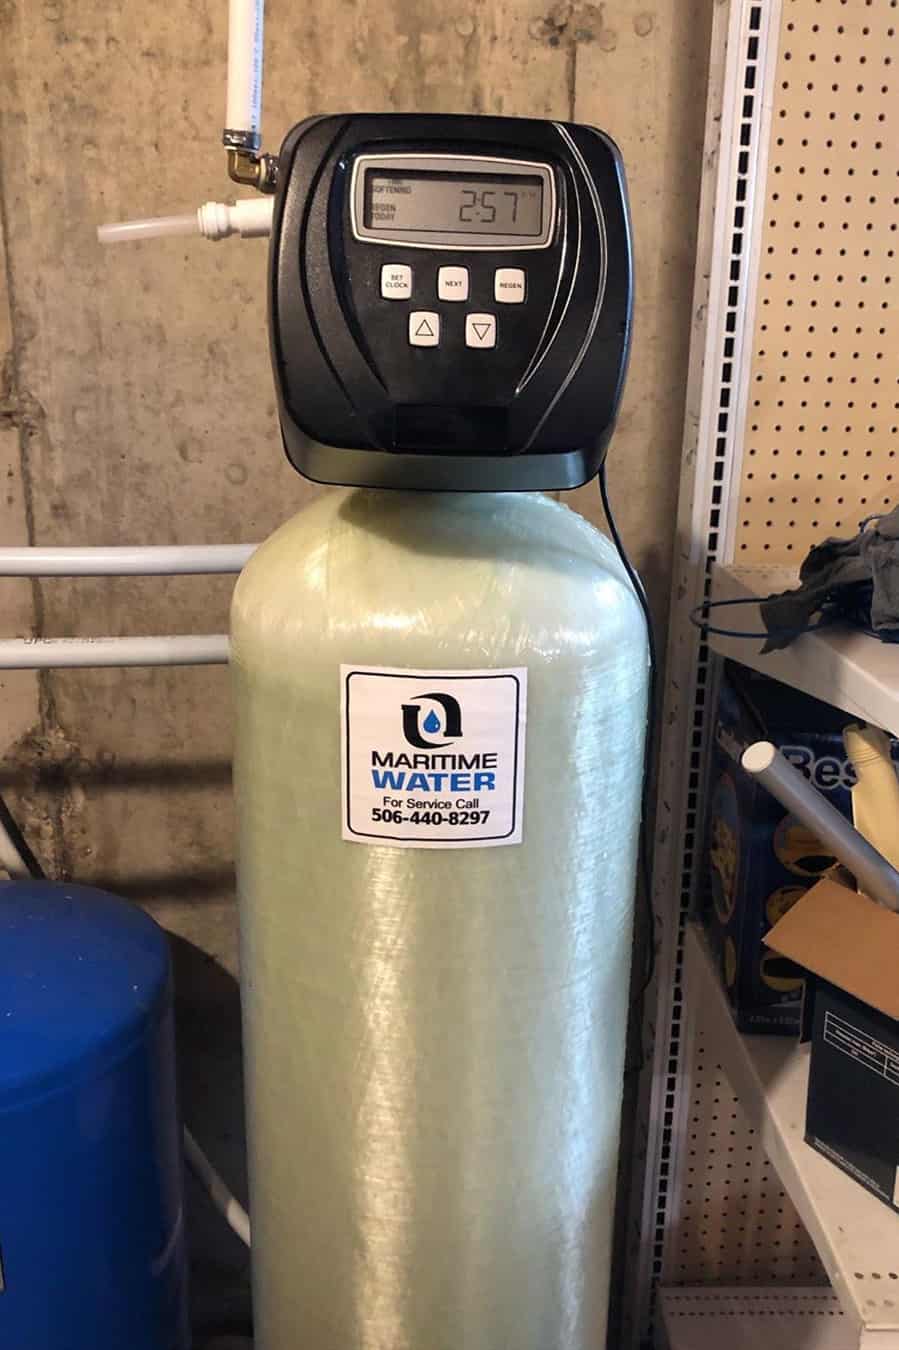
6. Activate the Renewal Process
In most water softener units, you will find a control knob on the valve that controls the regeneration mode. Just screw the knob counter-clockwise to turn this mode on. Once you do this, the water flow is reversed.
Now, the membranes and tank water are rinsed out automatically, and all leftover debris is removed.
7. Activate the Regeneration Once More
You can also turn on the regeneration process once more to give the unit a complete deep clean. Doing this helps all the remaining debris to go away. If your water softener tank bed has a calcium or iron layer, you can do this process for the third time.
8. Set up Normal Operations
After you complete the tank inspection, turn the regeneration knob clockwise. Doing this will stop the regeneration process and set the unit back into normal mode.
9. Reassemble the Water Softener
After completing all the earlier steps, you can reassemble the water softener unit. Pour about 55 gallons of water into the salt or brine tank.
10. Add the Right Quantity of Salt
In a typical water softening tank, you can add a 100-pound bag of salt. Always make sure to maintain about one-quarter of water softening salt. Avoid adding salt upto the brim. It’s recommended leaving a six-inch gap from the salt to the brim of the tank.
11. Reset the Softness
You can choose to remove more minerals by resetting the water softener’s dial or pushing a button. Since the water supply’s mineral content keeps changing, you can also make required adjustments to the softener.
12. Do a Test Run
After completing all the above steps, run water through the water softener unit for 8-10 minutes to rinse it well. If you feel its smell or taste is funny, go ahead and rinse the unit for another 10 minutes.
Best Ways to Clean Water Softener
A water softener is a critical appliance for your home and should be cleaned frequently. To maintain the unit, its recommended to clean it at least once every six months in the below manner:
- Detach all Pipes and Get Rid of the Old Salt
- Use a Trusted Resin Cleaner and Bleach
- Activate the Renewal Process
- Set up Normal Operations
- Reassemble the Unit and Add Salt
- Reset the water softness
- Do a test run
Having a consistent water softener cleaning schedule helps maintain the unit and avoids expensive breakdowns.
A well-maintained water softener extends the appliance lifespan, leaves less mineral residues on plumbing fixtures, and gives you cleaner laundry.